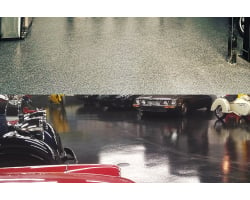
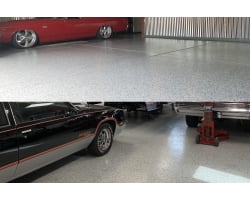
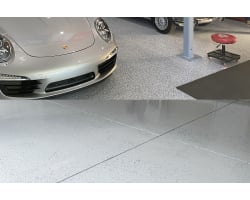
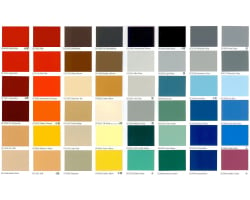
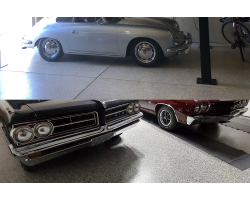
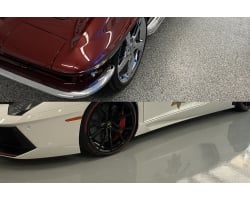
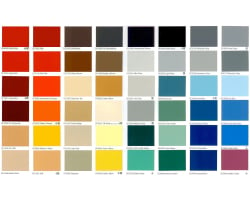
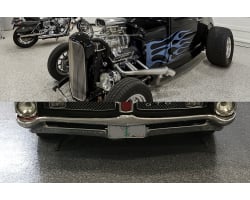
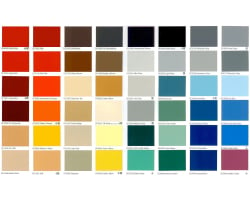
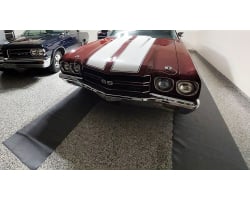
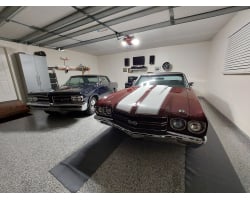
Applying an epoxy floor in your garage will make a huge difference not only in the way it looks but in its usability and durability. Car Guy Garage carries an industrial grade solvent based epoxy that you won’t find at a local hardware store. Let’s go through all the steps with the proper tools to get the job done right so your floor will last for decades.
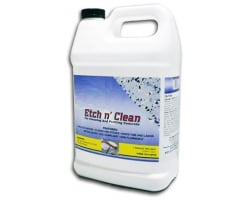
Before you begin the process of applying the epoxy you need to take inventory of everything that has been delivered to you. There are usually multiple boxes which may have been shipped from multiple locations. So although you may have received a shipment, there may still be more on the way to you. Open up all the boxes and organize the chemicals so that you have each set of chemicals arranged for each step. Arrange the bottles of etch-and-clean first. Second, arrange the cans of primer with the base and converter cans next to each other. Third, put the epoxy cans A and B next to each other. And finally organize the topcoat putting the A and B cans next to each other. This way you can make sure everything was delivered before you begin. Let's go through all the steps to apply this metallic epoxy to your floor.
Step 1: Grind the floor
This is an important step that no one should skip, even if you have new concrete. You need a rough surface on the concrete so that the epoxy has something to grab. It should look similar to 100 grit sandpaper. You need to contact a local tool rental or hardware store to rent a floor grinder. Floor grinders either use water from a garden hose or suction from a vacuum to keep the dust down. You plug the machine in and walk it up and down the floor similar to walking a lawnmower. The hardest part about the floor grinder is getting it to your garage from the rental location. These are usually bulky machines but they are typically easy to operate.
Step 2: Scrub Clean
After grinding, sweep the floor to remove all the accumulated dust and debris. Inspect the concrete for any contaminants like oil stains, which can significantly hinder the adhesion of the epoxy. If you find any oil or similar contaminants, they must be removed prior to proceeding.
Scrub the entire floor with a stiff bristle brush and water. Triple rinse the floor, preferably using a pressure washer or hose, to ensure all residues are completely washed away. It is crucial that the floor is evenly and thoroughly cleaned.
Finally, allow the concrete to dry completely, which typically requires a minimum of eight to ten hours, before moving on to the next step.
Step 3: Primer and Sealer
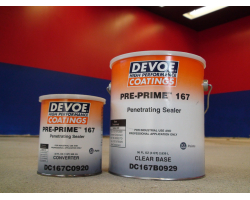
The next chemical you’ll be using does two things: both provides a bonding coat for the epoxy and seals the concrete from air and/or moisture coming from under the slab. You mix together part "A" and part "B" and use a three eighths inch nap roller with a dip and roll application. It has a very low viscosity, much like water, so it’s easy to put down. One gallon will coat over five-hundred square feet. It MUST be applied in one thin wet coat sufficient to completely cover and penetrate the surface. After it has been applied, wait until it becomes tacky or hard. This can occur anywhere between one hour to twenty-four hours depending on how porous the concrete is. It will dry blotchy and uneven, some areas will be glossy and some dull, some tacky and some dry. This is normal. Once tacky the epoxy must be applied within seventy-two hours.
Step 4: Apply the epoxy
Now you’re ready to color the floor with epoxy. Do not apply epoxy if the temperature is below fifty degrees or if it’s very humid. Do not use an open flame, like a heater, around the epoxy while it’s curing because it’s flammable. If you have in-floor heating do not turn it on or you risk boiling the epoxy. You’ll also need to ventilate the area very well while it’s curing.
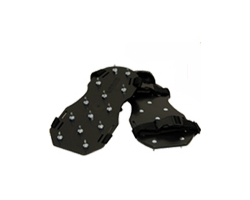
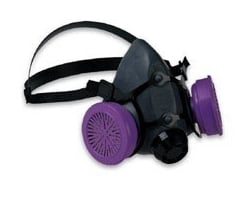
First put on your respirator and your spiked shoes. The spiked shoe attachments allow you to walk on the wet floor without leaving footprints. Make sure to tighten all the screws in the spiked shoes before you put them on.
Take the entire contents of part "A" and pour it into a 5 gallon bucket. Then slowly stir in part B. Once all of part B has been added to the bucket, you’ll continue to mix them for a minimum of 5 minutes. You want to mix them until they become one consistent material so mix them VERY thoroughly.
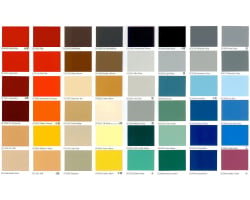
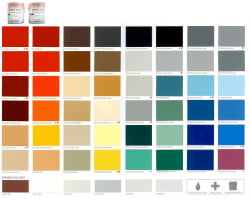
The epoxy will be very thick, similar to peanut butter, making it difficult to roll out. It’s not necessary, but I’d highly recommend picking up some Xylene at your local hardware store to thin the epoxy. Add in four to six ounces of Xylene per gallon of mixed material. This will make the material much more manageable without sacrificing its protective properties. Allow the mixed material to stand fifteen minutes before use, and re-stir it before rolling it out. The epoxy is usable for roughly six hours before it gets too hard. The coverage is about two-hundred square feet per gallon, but keep in mind brighter colors may take multiple coats.
Start painting in the corner furthest away from the exit. Use a brush to cut in along the walls and edges. Pour from the bucket onto the floor in thin ribbons then roll the material out using a quality half inch nap roller.
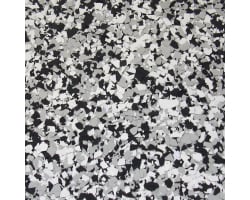
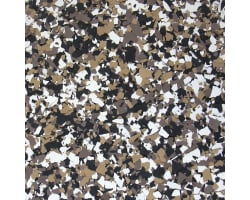
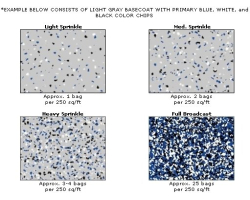
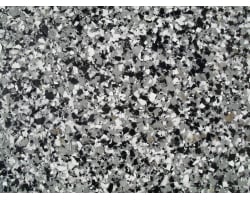
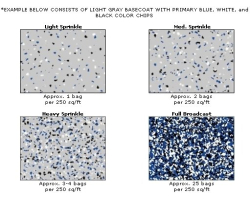
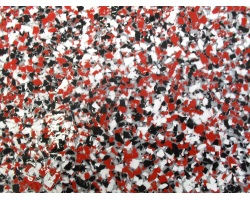
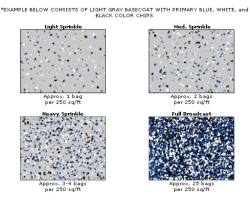
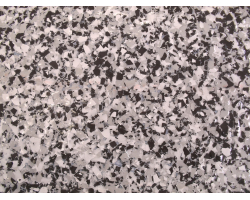
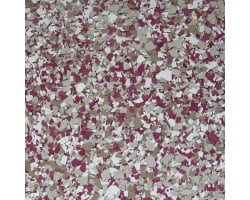
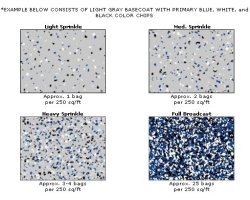
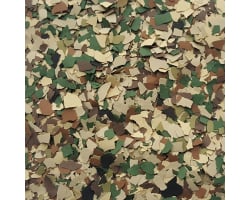
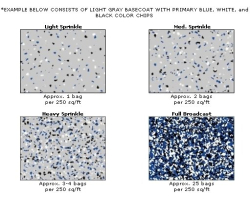
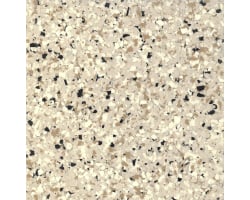
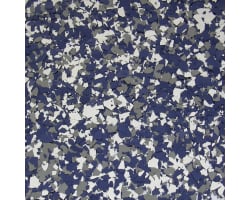
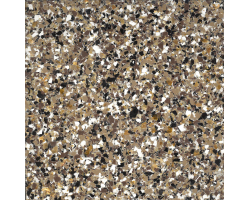
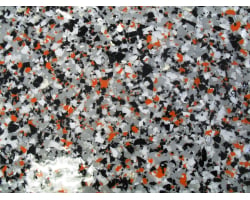
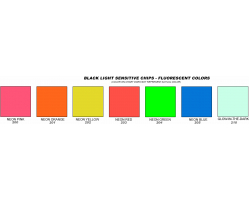
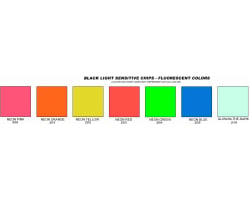
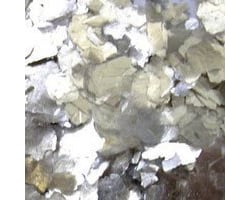
If you are going to apply paint chips to the floor, you want to chip the floor in sections. After you have painted a large enough area (about 8 by 8 feet) begin to apply the chips. Chips are applied by tossing them upward toward the ceiling allowing them to float down into the wet epoxy. We call it a “feeding the chickens” style toss; using only three fingers, take a pinch full of chips at a time and throw them at an upward angle allowing the chips to float down into the wet epoxy. Doing this prevents having streaks or clumps of chips. If you broadcast too much in one area, you have to match the entire floor to that spot so take your time and do a little at a time. It will take at least an hour for the epoxy to start to tack up so you have plenty of time to broadcast your chips evenly.
Continue rolling out approximately six foot wide sections and tossing chips until the entire floor is complete. Since everyone’s idea of chip coverage can be different, it’s important to make sure you don’t run out of chips before the end of your job. It’s best to first apply less chips than you ideally want, and when you reach the end of your floor you can go back and apply what chips you have left. If you make a mistake with the chips, you can’t move them, but you can roll epoxy over them and try again.
At seventy-seven degrees the epoxy will be cured enough to re-coat in six hours and be hard in nine hours. If it’s warmer these times will decrease and if it’s colder it will take longer. Remember that any dirt or debris on the floor will be sealed in by the topcoat so keep the floor clean.
Step 5: Clear Urethane Topcoat
The topcoat is flammable, and very vaporous, while you are applying it and it cures. You will need your respirator and your spiked shoes for this step and make sure the area is well ventilated.
While applying the topcoat you must open the garage doors and you'll leave them open while it's curing (you may partially close them at night, leaving them open a few inches, and reopen them in the morning.) This topcoat can not be used in an area like a basement because of the fumes that come off of it while it cures.
You will know when you are ready to apply the topcoat when you can no longer see your thumbprint in the epoxy. It's usually a minimum of 10 to 12 hours. Make sure the weather forecast permits at least 2 full days of no rain before applying the topcoat. It is not recommended to apply the topcoat or allow it to cure during rainfall because the moisture in the air can cause hazing. It is important that all mixing equipment is free of moisture and that moisture does not contaminate the coating.
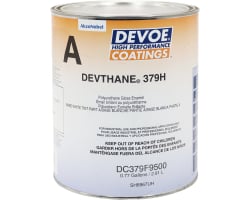
This topcoat is a two-component product at a 4 to 1 mix ratio that has already been measured in the cans. First mix the gallon can to obtain a smooth consistent material. Then continue to mix it and slowly add the converter. Make sure to mix them together thoroughly. You have about 4 hours at 77 degrees to use the product. Higher temperatures will reduce the time; lower temperatures will increase it. Humidity also plays a large role in curing times, dryer air is ideal.
Using a quality one eighth inch nap mohair roller, roll one even coat over the entire floor. Use a small brush to complete the edging. Be sure to apply the coating evenly because applying it too thick, or a lack of ventilation, may cause hazing.
At 77 degrees the topcoat hardens to light foot traffic in sixteen hours. You can move heavy items on it in thirty-six to forty-eight hours. It will be fully cured in five to seven days. Low temperature, high humidity, thick films or poor ventilation will increase these times.
The Wrap Up
From start to finish you can complete the entire epoxy application process in 4 days.
Day 1: Grind; and then Etch-and-Clean, the floor
Day 2: Apply the sealer and primer
Day 3: Apply the epoxy
Day 4: Apply the topcoat.
You can walk on it the next day and drive a car on it about 7 days later. So depending on the weather which impacts curing times, you’ll basically be parking your car outside for at least 11 days.
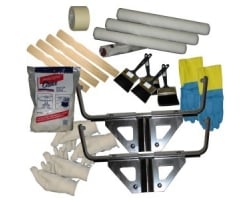
Essential Tools:
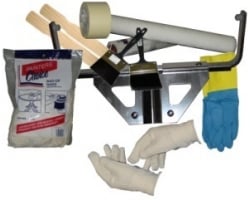
- A stiff bristle brush to scrub in the etch and clean
- One 3/8" nap roller for the primer
- One 1/2" nap roller for the epoxy
- One 1/8" nap mohair roller for the topcoat
- Roller frames and paint trays
- Three 3" brushes (for edging)
- A quart of Xylene (for cleanup and thinning the epoxy)
- 5 gallon buckets
- Respirators
- Spiked Shoes
- Rubber gloves
- Rags
- Masking tape
- Stir sticks (and you'll want something beefier than a paint stick for the epoxy because it's thick; some scrap lumber works)
Although you can complete the project alone, it's easier with two people especially when you're putting down the epoxy. With two people, one person can be rolling out the epoxy while the other person is mixing the next batch and putting down chips. Take this into consideration with the supplies listed, you may want additional rollers, brushes, buckets, spiked shoes, gloves, and respirators if you have additional people helping.
Overall the process of applying epoxy to your garage floor isn’t complicated. It takes a few days because once you’re finished with a step, you have to wait until it dries or cures before you can move to the next step. The transformation that happens will change the entire look and feel of your garage, and depending on the use, can last for decades. We carry all the products you need to epoxy your garage floor in easy to purchase kits set up by square footage. If you have any questions give us a call at 800-736-9308 or email sales@carguygarage.com

